

 Free delivery over €50
 14 day free returns


Repointing Rubble Masonry With NHL Lime / Graded Aggregate
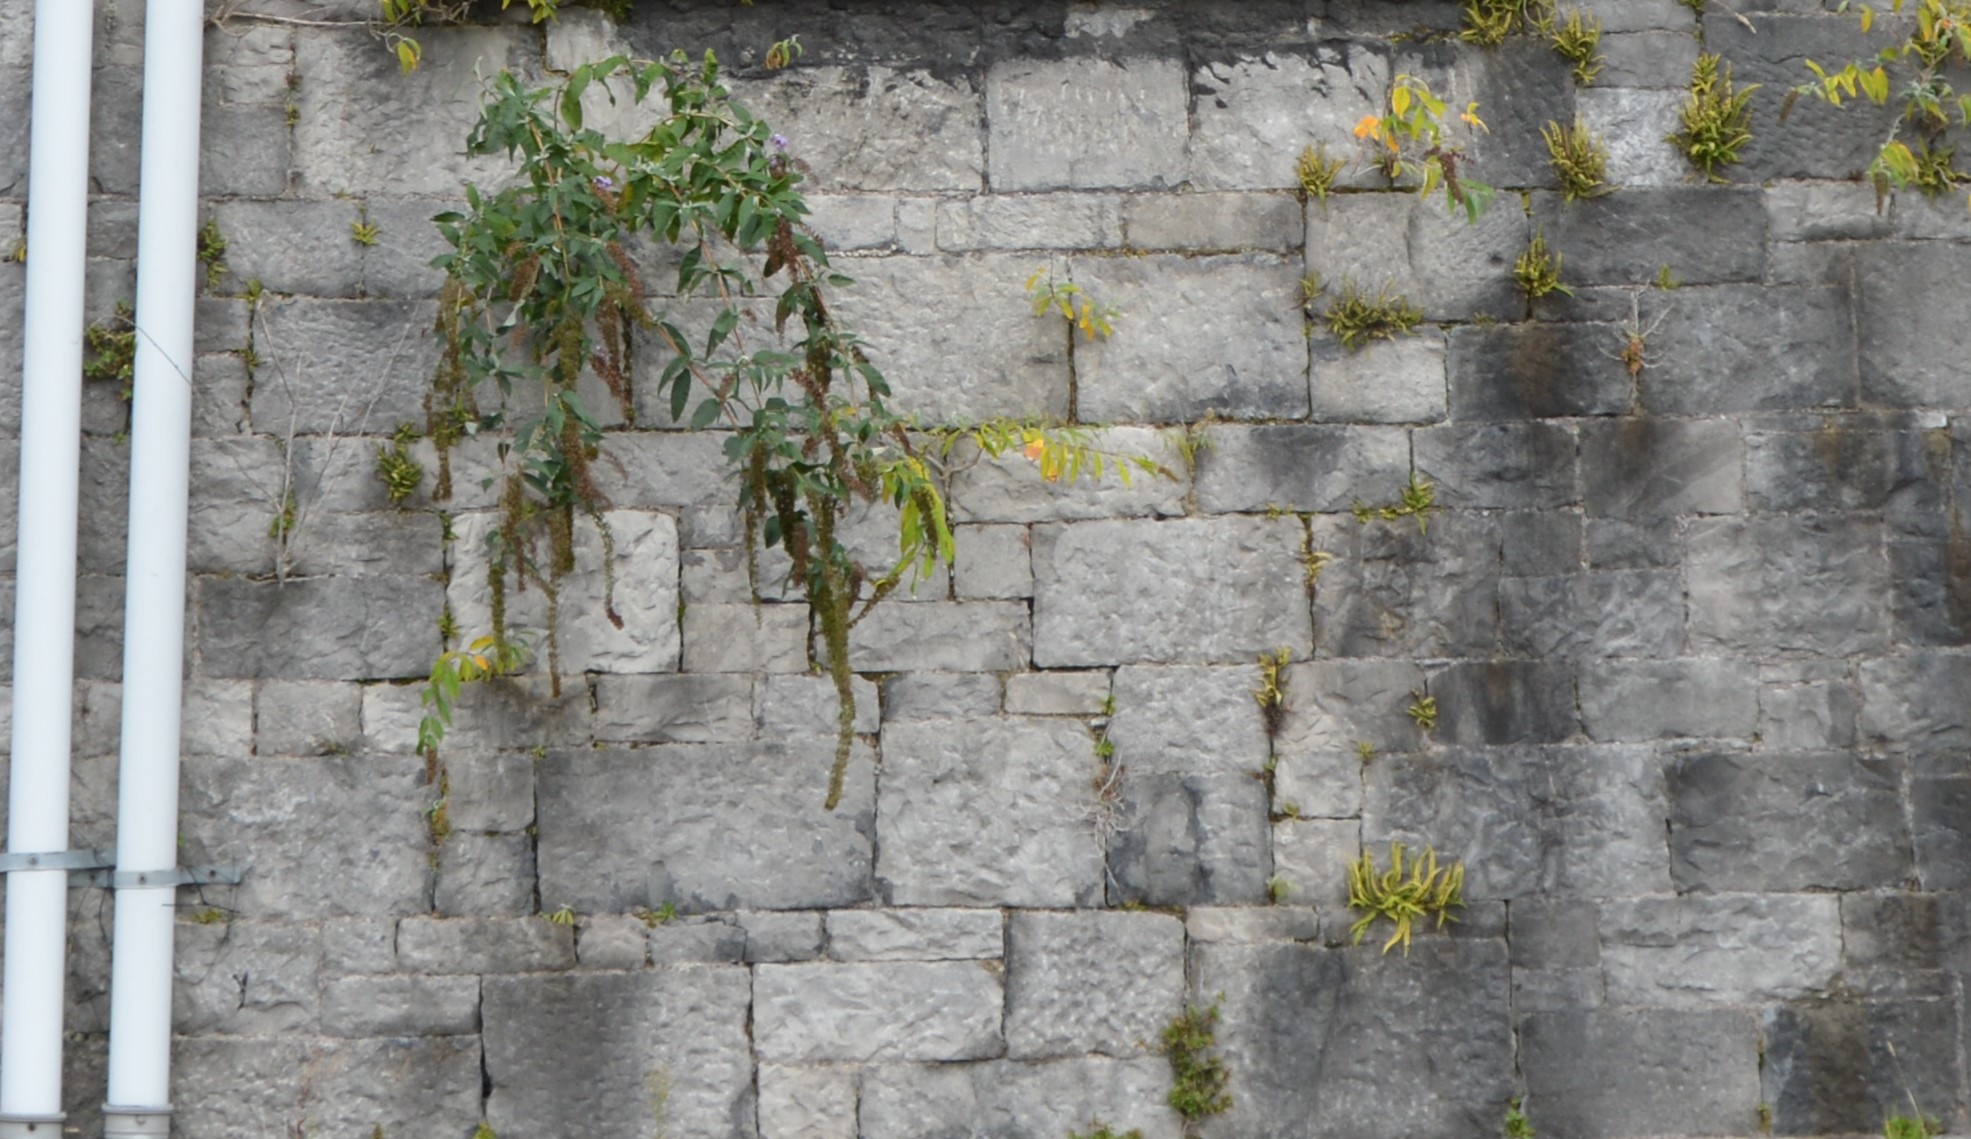
As part of the lifespan of a historic property sometimes it is necessary to carry out maintenance to the pointing mortars. Vegetation growing from the wall can be a good indicator of the need to carry out these works.
In every wall there are bedding mortars and pointing mortars. The mixes can be the same or can also be different depending on the site.
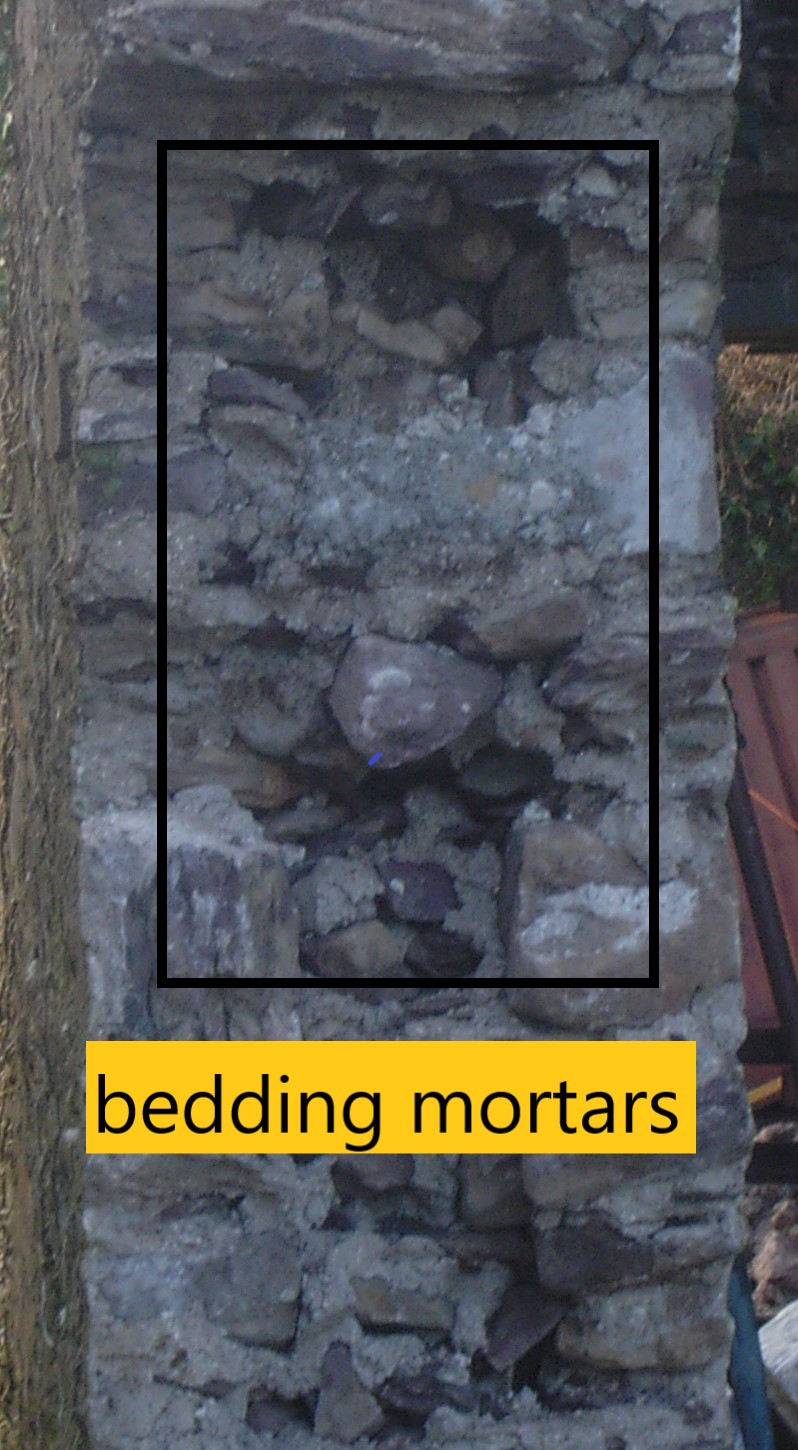
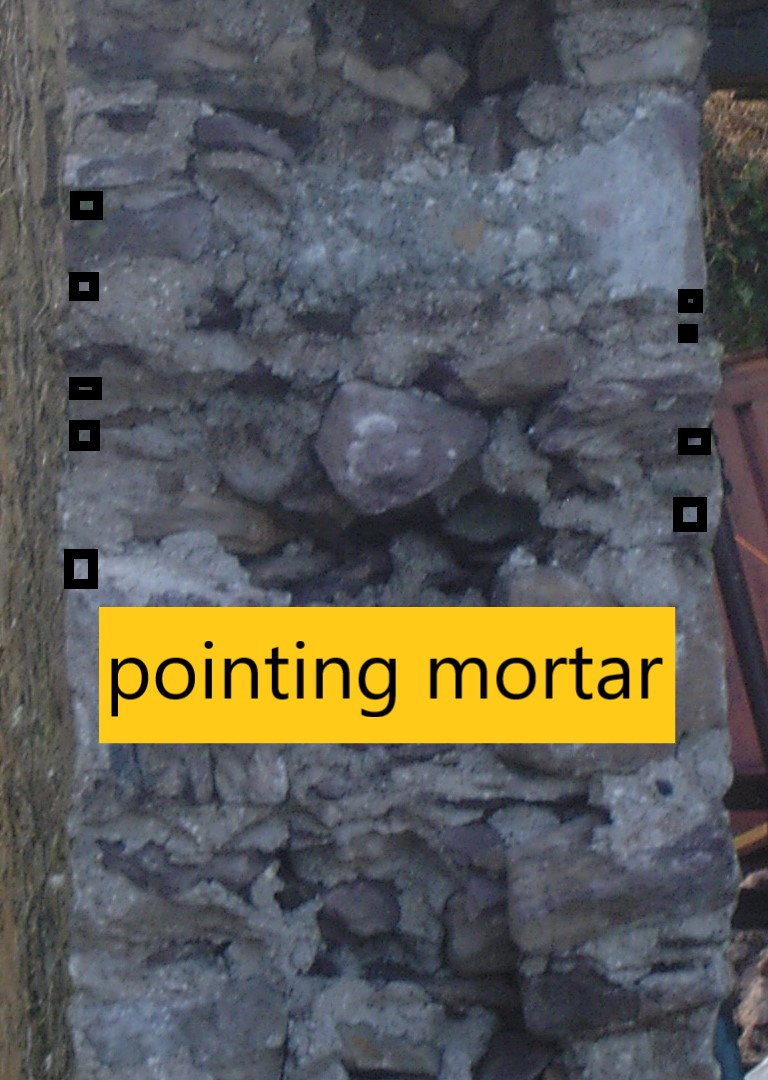
All loose pointing mortar should be removed and replaced with a matching pointing mortar. The mortar should be analysed to calculate the mix in order to match with lime type, lime ratio, aggregate types and aggregate sizes. This will ensure the best result historically and aesthetically. Bedding mortars are best replaced by grouting operations or by deep ramming of semi dry mortar mixes. semi dry in order to eliminate as much shrinkage as possible.
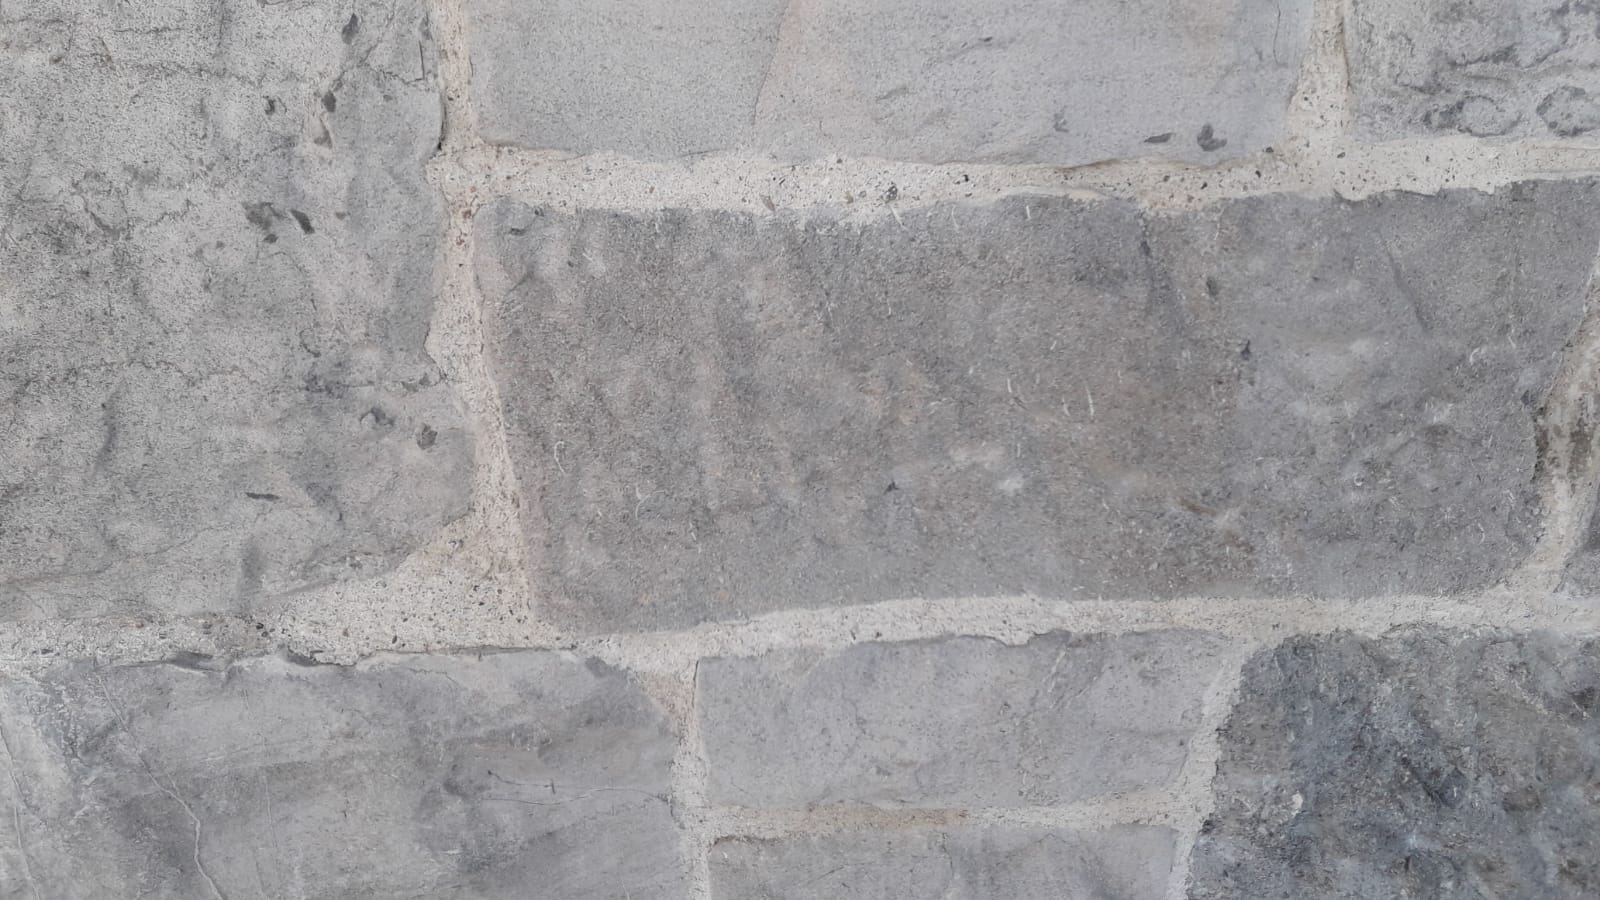
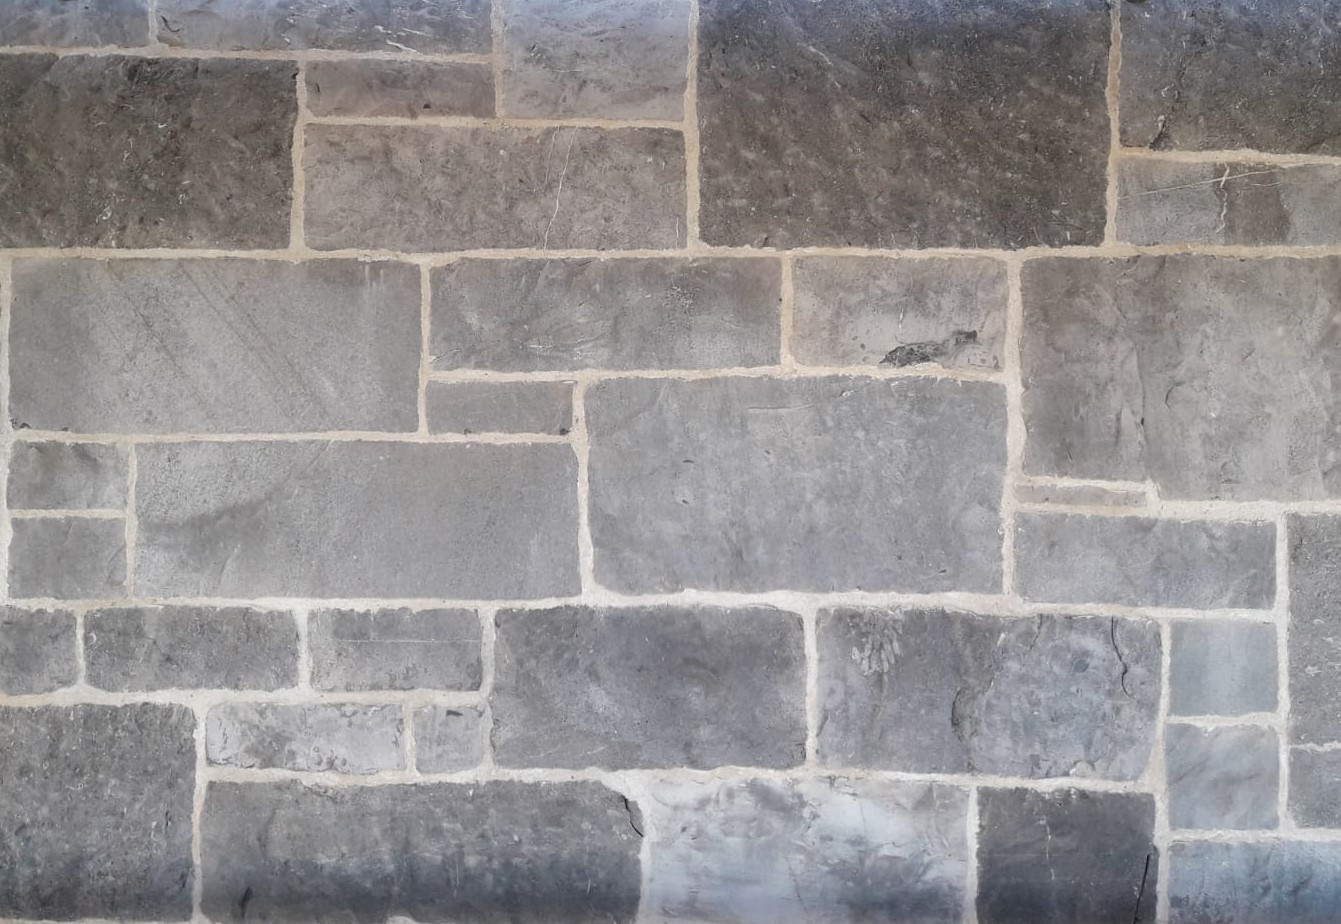
Flush pointing with 5mm down clean aggregate/ secil NHL 3.5 mix. Different lime brands and different aggregate suppliers and mixes will produce different colour pointing mixes. Trial areas should be carried out to see which works best. As a rule of thumb the more local the products the closer to the original the pointing will end up.
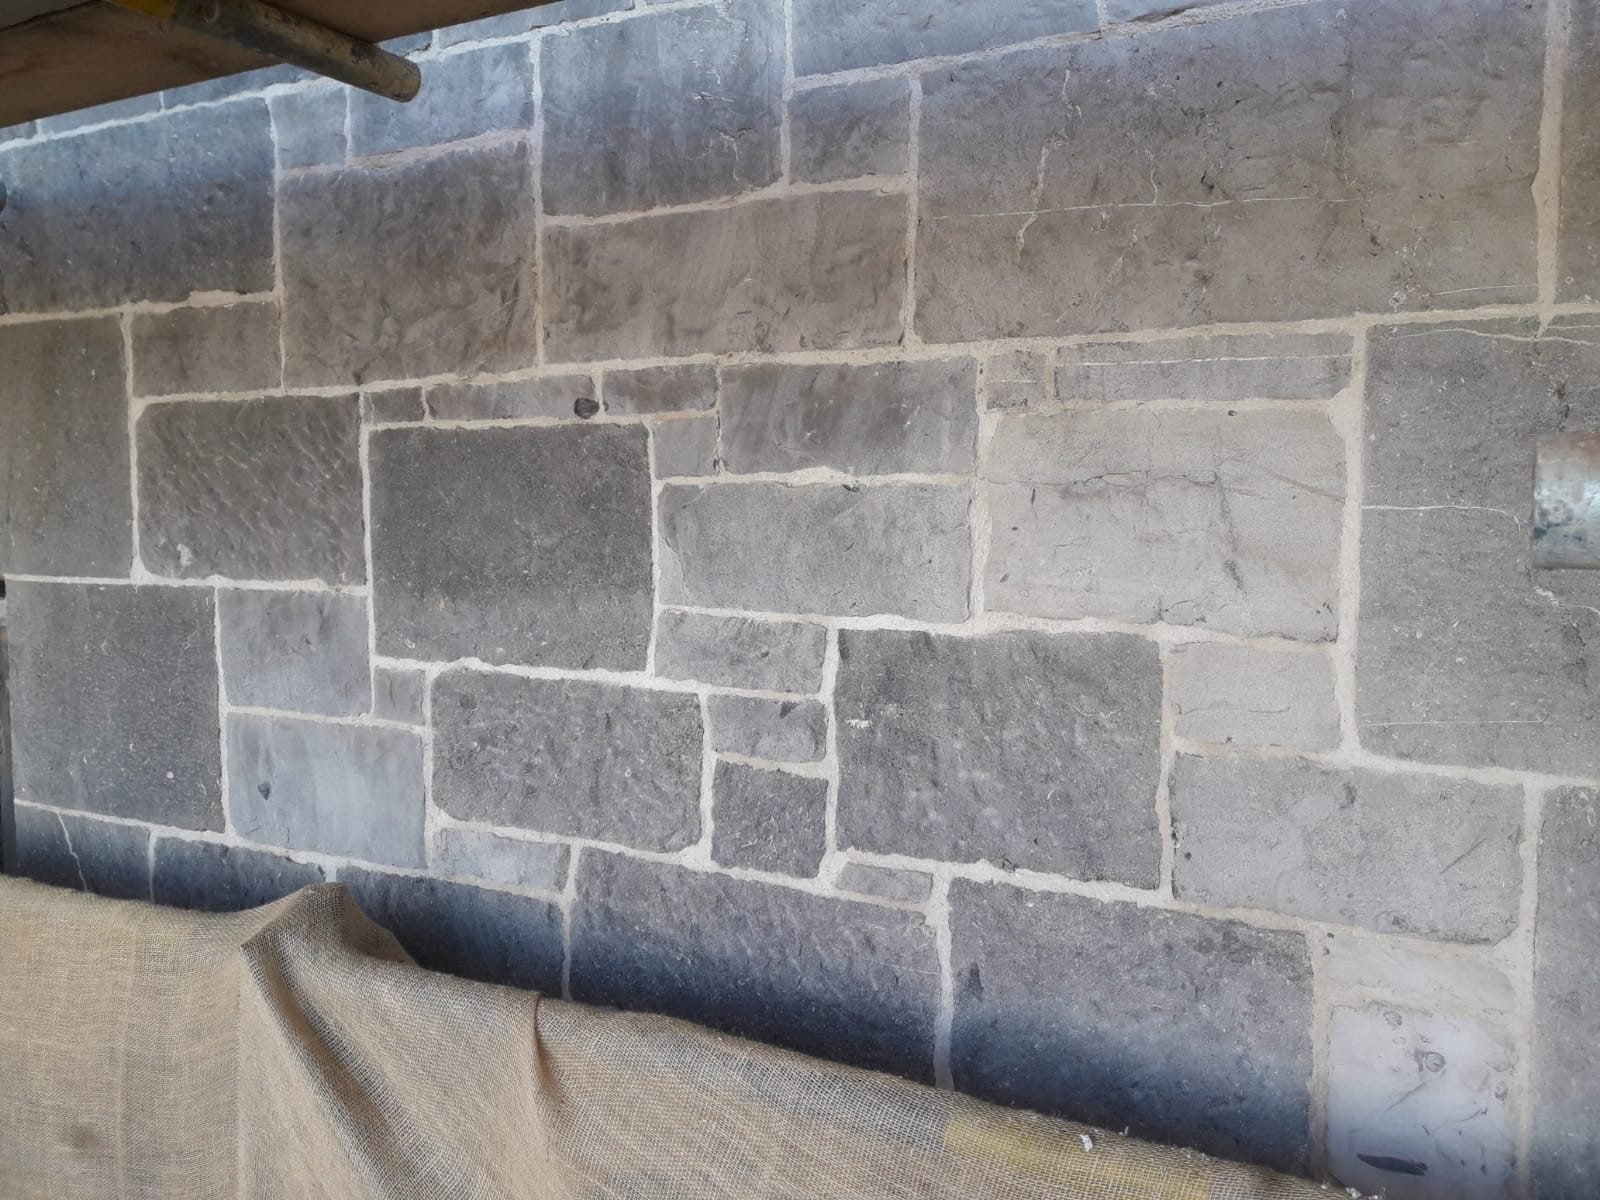
Clean working will produce clean results. No smearing of the stone while carrying out the work. This is achieved by using properly mixed mortars and controlling the moisture in the mix while maintaining moist background for the pointing mortar. Beware of smearing the entire facade which is akin to limewashing the facade.
The Procedure For Repointing Is As Follows
Clearing out and preparation of joints should always be carried out from the top down, and pointing should be carried out from the bottom up to take account of the effects of gravity.
All raking out and cleaning down of cementitious mortars will have been completed prior to repointing works commencing on each façade. However, care will be taken to ensure that sound, original lime mortars are left in place, in accordance with the principle of minimum intervention.
All loose and friable material must be removed prior to placing new mortar, as it requires a sound surface to adhere to. A stiff bristled brush should be suitable for clearing stone surfaces of unwanted material, followed by lightly spraying water (not under high pressure) into the joints to remove any remaining dust and debris. Preparation of the wall surfaces generally should include thorough cleaning down and removal of all loose material, dust, etc., and damping down before starting work.
Control of suction between the new mortar and the substrate is required. The more absorbent the stone or brick, the more wetting down it will need, in order to prevent water being drawn from the newly placed mortar into the stone. If too much water is lost, the mortar will shrink excessively, become friable and ultimately become detached from the substrate. Impervious stones may require minimal or no damping down.
For re-pointing, the mortar should be sticky but not wet. A suitable mortar should stick to the underside of an inverted hawk (or trowel). An appropriate pointing tool should be chosen to suit the width of the joint, thus preventing spreading of mortar or staining on the masonry faces. The mortar should be firmly pressed into the depth of the joint with the pointing tool. Where pinning stones are required, they should be hammered in any joints to force the mortar well back into the depth of the joint and to reduce the volume of mortar present in one location.
In general, when mortar has stiffened up, it should be firmly compacted into the joints by beating with a stiff bristle brush. This will help eliminate any initial shrinkage cracking and ensure that the mortar is fully compacted into the joint with a good bond to the surrounding masonry. The surface should then be lightly scraped back with the edge of the pointing tool or similar, to provide a rough, open-textured surface which is ideal for carbonation and curing, and for maximum evaporation of moisture from the joints once fully cured.
Overworking the surface of the mortar will result in surface laitance caused by lime particles being ‘worked’ to the surface and forming an outer crust which may restrict carbonation of the mortar behind. This can also result in lime leaching if subjected to rainfall before the mortar has sufficiently cured.
Curing & Protection
All mortars require adequate protection until they are fully cured, and inadequate protection is a common cause of failure in lime work. These mortars should not be expected to cure as quickly as cement-based mortars.
In drying conditions, new lime pointing will need to be dampened regularly (by lightly spraying) to prevent rapid drying. Over-rapid drying will result in shrinkage cracking due to rapid loss of water and will inhibit curing because the lime will only react with carbon dioxide in the presence of moisture
The length of time required for the mortar to cure is variable and will depend on environmental conditions, type of mortar used, its finish, and the mass of mortar in any one location. Curing can be accelerated by good working practices with pinning out and finishing joints (as described above). Adequate protection will be achieved by close covering the new work with hessian and polythene sheeted panels placed against the face of the new work.